How to set up a Rails 4.1 app on AWS with Elastic Beanstalk and PostgreSQL
![]()
Update: This post is now a bit outdated. There is a
NEW VERSION
of this post that has updated instructions for the new Elastic Beanstalk and Rails 4.2.
Managing ops on a small team can be a real pain. At WillCall our infrastructure is
pretty simple but we still have to spin up and down lots of servers every day to handle the varying traffic across our
services. Three years ago when we had just started the company we were doing this manually with
chef, but it could be error-prone and started to feel like a full-time job.
For simple projects, tools like heroku can be perfect. Great for prototyping apps and testing
out different ideas without a lot of hassle. But when your project gets more complicated and you want to have more
control of your servers, load balancers, workers, auto-scaling conditions, etc, you will feel this pain as well.
There are many services that provide the ability to get a Rails app up and running quickly while still keeping full
control of your infrastructure, and my current favorite is Amazon’s
Elastic Beanstalk. The service is aptly described by Amazon as follows:
AWS Elastic Beanstalk makes it even easier for developers to quickly deploy and manage applications in the AWS cloud.
Developers simply upload their application, and Elastic Beanstalk automatically handles the deployment details of
capacity provisioning, load balancing, auto-scaling, and application health monitoring.
Now that Amazon supports PostgreSQL via RDS having a fully-managed
postgres-backed Rails app has never been easier!
You can find all of the code for this post at
github.com/jtescher/example-rails-elasticbeanstalk-blog
If you get stuck or have other issues the
documentation for Elastic Beanstalk is pretty good.
Getting Started: #
Sign up for an AWS account via the instructions at
console.aws.amazon.com/elasticbeanstalk and then download the
Elastic Beanstalk Command Line Tools via Homebrew (or here for PC)
$ brew update
$ brew install aws-elasticbeanstalk
Create the app: #
The most current version of rails at the time of this writing is 4.1.0.rc1 so that’s what we will use now.
$ gem install rails -v 4.1.0.rc1
$ rails new blog --database=postgresql
$ cd blog
$ git init && git add -A && git commit -m "Initial commit"
Initialize beanstalk environment #
$ eb init
I would choose the following settings, but for a description of each option see the AWS example
here
Enter your AWS Access Key ID (current value is "AKIAIOSEXAMPLE"):

Enter your AWS Secret Access Key (current value is "PfiCYEXAMPLE"):

Select an AWS Elastic Beanstalk service region.
2) US West (Oregon)

Enter an AWS Elastic Beanstalk application name
(auto-generated value is "blog"):

Enter an AWS Elastic Beanstalk environment name
(current value is "blog-env"):

Select an environment tier.
1) WebServer::Standard::1.0

Select a solution stack.
44) 64bit Amazon Linux 2013.09 running Ruby 1.9.3

Select an environment type.
1) LoadBalanced

Create an RDS DB Instance? [y/n]: y

Create an RDS BD Instance from (current value is "[No snapshot]"): 1

Enter an RDS DB master password:
Retype password to confirm:

If you terminate your environment, your RDS DB Instance will be deleted and you will lose your data.
Create snapshot? [y/n]: y

Attach an instance profile (current value is "[Create a default instance profile]"): 1
Then create an optionsettings file in the newly created .elasticbeanstalk directory called optionsettings.blog-env
(or your custom env name as the extension if you customized it)
# .elasticbeanstalk/optionsettings.blog-env
[aws:autoscaling:asg]
Custom Availability Zones=
MaxSize=4
MinSize=1

[aws:autoscaling:launchconfiguration]
EC2KeyName=
InstanceType=t1.micro

[aws:autoscaling:updatepolicy:rollingupdate]
RollingUpdateEnabled=false

[aws:ec2:vpc]
ELBScheme=public
ELBSubnets=
Subnets=
VPCId=

[aws:elasticbeanstalk:application]
Application Healthcheck URL=

[aws:elasticbeanstalk:application:environment]
BUNDLE_WITHOUT=test:development
RAILS_SKIP_ASSET_COMPILATION=false
RAILS_SKIP_MIGRATIONS=false

[aws:elasticbeanstalk:hostmanager]
LogPublicationControl=false

[aws:elasticbeanstalk:monitoring]
Automatically Terminate Unhealthy Instances=true

[aws:elasticbeanstalk:sns:topics]
Notification Endpoint=
Notification Protocol=email

[aws:rds:dbinstance]
DBDeletionPolicy=Snapshot
DBEngine=postgres
DBInstanceClass=db.t1.micro
DBSnapshotIdentifier=
DBUser=ebroot
Then you can test that everything worked with:
$ eb status
Environment "blog-env" is not running.
Starting the app #
To start the environment run:
(we will start the app without the rails app first to make sure it’s all set up properly)
$ eb start
Would you like to deploy the latest Git commit to your environment? [y/n]: n
Waiting for environment "blog-env" to launch.
INFO    createEnvironment is starting.
INFO    Using elasticbeanstalk-us-west-2-whatever as Amazon S3 s...
INFO    Created security group named: sg-aebgroupid
INFO    Created load balancer named: awseb-e-m-AWSEBLoa-xloadid ...
INFO    Created security group named: sg-cebgroupid
INFO    Created Auto Scaling launch configuration named: awseb-e...
INFO    Creating RDS database named: apdbnamez. This may take a ...
INFO    Created RDS database named: apdbnamez
INFO    Waiting for EC2 instances to launch. This may take a few...
INFO    Created Auto Scaling group named: awseb-e-dse-stack-AWSE...
INFO    Created Auto Scaling group policy named: arn:aws:autosca...
INFO    Created Auto Scaling group policy named: arn:aws:autosca...
INFO    Created CloudWatch alarm named: awseb-e-dv-stack-AWSEBCl...
INFO    Created CloudWatch alarm named: awseb-e-dv-stack-AWSEBCl...
The environment should now be running. To see the status and url:
$ eb status --verbose
Retrieving status of environment "blog-env".
URL     : blog-env-hkdpsewdfsd.elasticbeanstalk.com
Status      : Ready
Health      : Green
Environment Name: blog-env
Environment ID  : e-jlksjdf8d8s
Environment Tier: WebServer::Standard::1.0
Solution Stack  : 64bit Amazon Linux 2013.09 running Ruby 1.9.3
Version Label   : Sample Application
Date Created    : 2014-01-20 18:45:40
Date Updated    : 2014-01-20 19:03:13
Description :

RDS Database: AWSEBRDSDatabase | sdfjlsdkflsk.sdfkjlsdkjf.us...
Database Engine:    postgres 9.3.1
Allocated Storage:  10
Instance Class:     db.t1.micro
Multi AZ:       False
Master Username:    ebroot
Creation Time:      2014-01-20 18:53:06
DB Instance Status: available
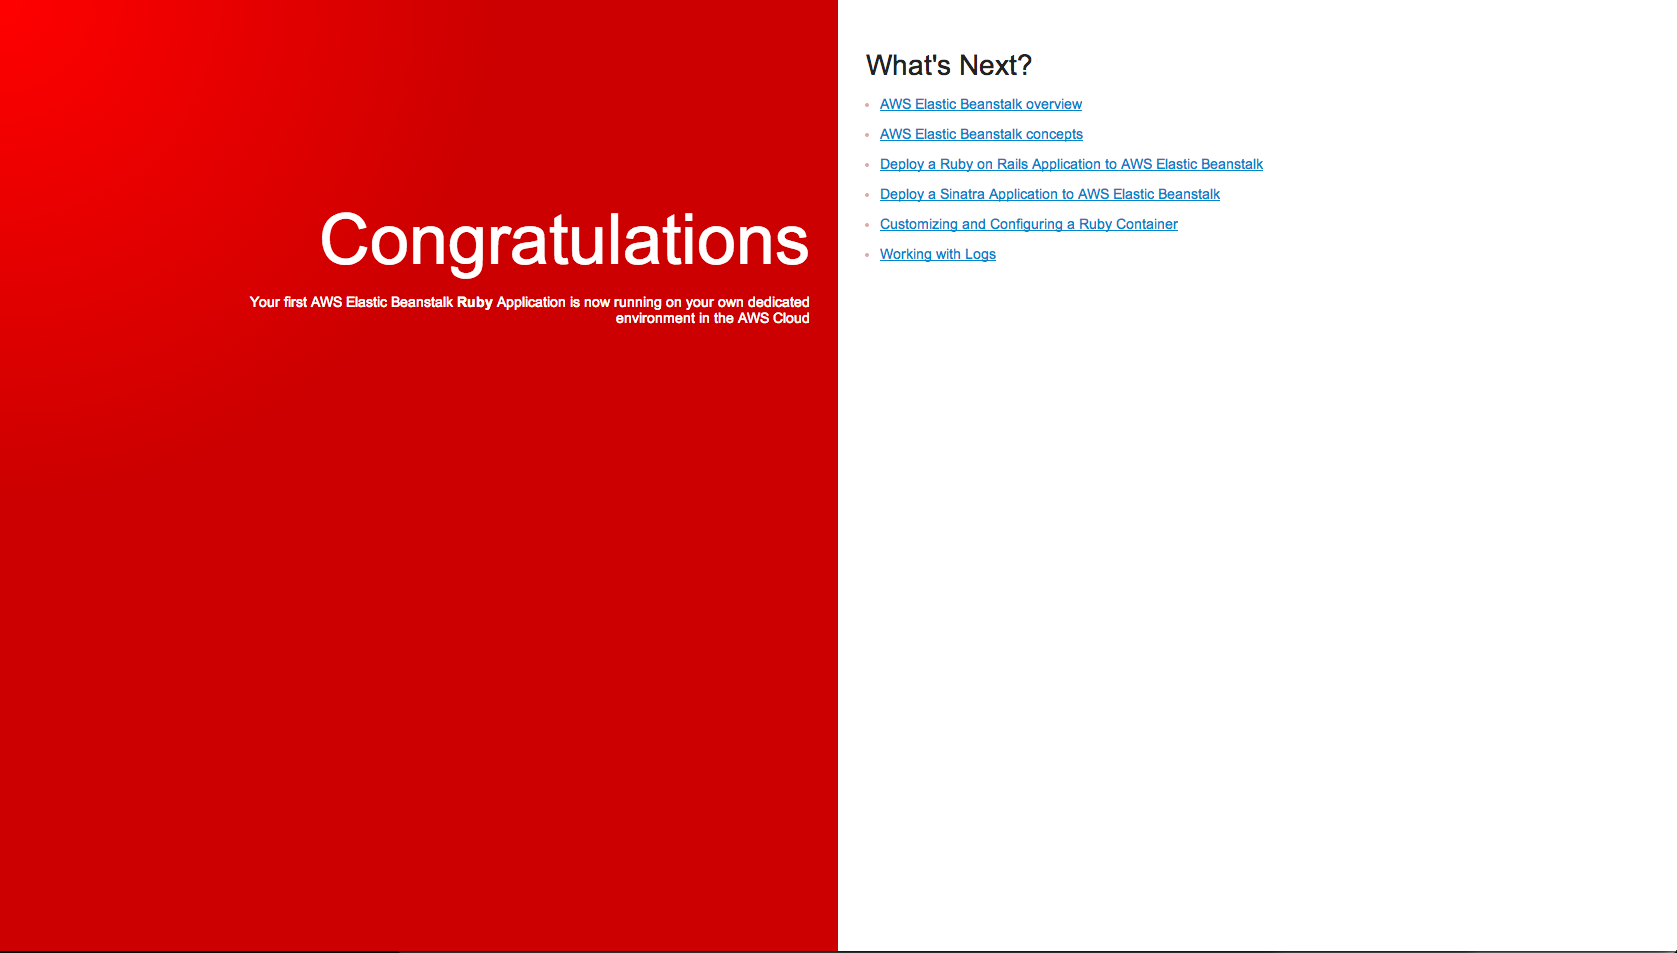
If you open the URL that is returned by this command ( should be URL: your-app-env.elasticbeanstalk.com ) you should
see the Elastic Beanstalk welcome page:
Getting the pg gem to work on elasticbeanstalk #
The postgresql-devel yum package is required to install the pg gem on amazon linux and configuring packages on
Elastic Beanstalk instances is as simple as dropping a YAML formatted .config file in a top level .ebextensions folder.
# .ebextensions/packages.config
packages:
  yum:
    postgresql-devel: []
Configuring database.yml to work with RDS postgres #
Database credentials should never be hard coded and Elastic Beanstalk makes managing environment variables quite simple.
RDS variables are configured and updated automatically so your production section of database.yml can be updated to be
the following:
production:
  <<: *default
  database: <%= ENV['RDS_DB_NAME'] %>
  username: <%= ENV['RDS_USERNAME'] %>
  password: <%= ENV['RDS_PASSWORD'] %>
  host: <%= ENV['RDS_HOSTNAME'] %>
  port: <%= ENV['RDS_PORT'] %>
Configuring secrets.yml #
By default Rails now includes a secrets.yml file and your production keys and settings should be set there as
environment variables. The default environment only requires a SECRET_KEY_BASE variable to be defined, so let’s
add that to your environment. First run:
$ bundle exec rake secret
5387fca6a0a69d945bb57e8be5bce3a119292216dfc95b270275c518641aa3e8db14a5ead261b1d50332a92ed860c544ef24356100ccb391507b1c5b8d46f39b
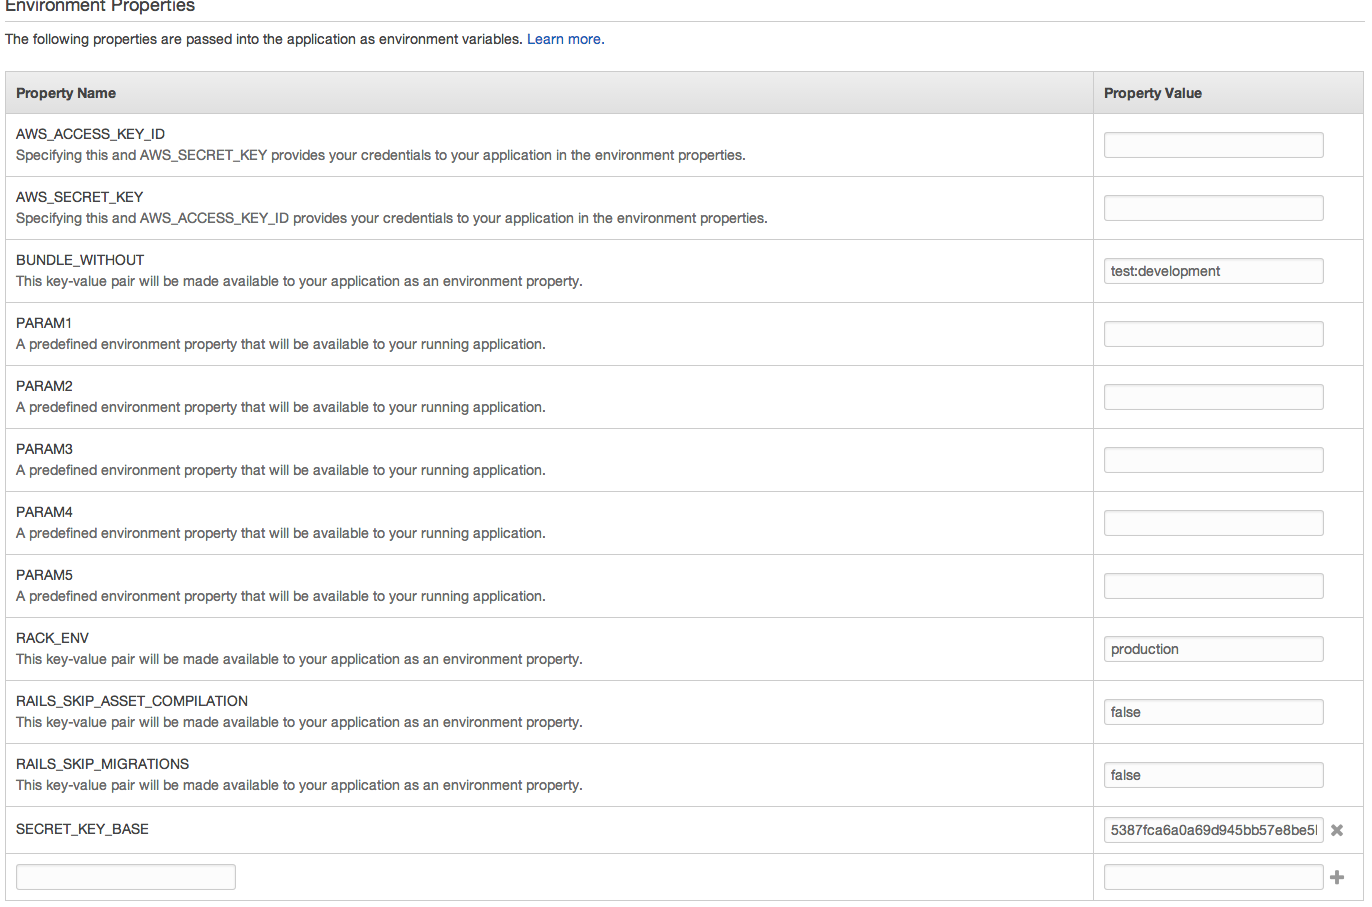
Then go to console.aws.amazon.com/elasticbeanstalk/home and in
blog-env on the left under configuration click on the cog next to ‘Software Configuration’. At the bottom, enter
SECRET_KEY_BASE on the left and the output of rake secret on the right.
After you save, it should look like this:
Adding some scaffolding #
To finish up let’s add a post resource so we can start blogging:
$ rails generate scaffold post title:string body:text
$ bundle exec rake db:migrate
Deploying the app to AWS #
Commit all the changes we just made:
$ git add -A && git commit -am "Add post resource, configure database.yml for production"
Then deploy with:
$ git aws.push
If you visit https://console.aws.amazon.com/elasticbeanstalk/home
you should see the progress of your app as it deploys.
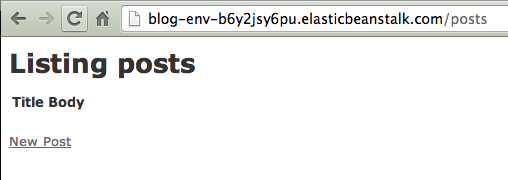
Once that finishes you have your functional app running Rails and postgres! Go to your-app-env.elasticbeanstalk.com/posts
and you’re done!: